Stainless Steel Flue Relining
Stainless steel chimney flue relining in Vancouver, WA. Camera inspection, correct liner sizing, and insulation for safe, clean-venting flues.
When a flue needs relining
A chimney flue is the inner passage that carries smoke and combustion gases up and out. In older Vancouver homes that passage is often lined with clay tile, and in the oldest it may be bare brick and mortar with no liner at all. Over decades, clay tiles crack, mortar joints between them wash out, and the flue stops being the smooth, sealed channel it needs to be. A stainless steel liner restores a continuous, properly sized path from the appliance or firebox to the top of the chimney.
Relining comes up most often for three reasons: an existing clay flue has deteriorated, a chimney was never lined to begin with, or a homeowner is installing a new gas insert, pellet stove, or wood stove that needs a specific liner diameter. In every case the point is the same — to vent heat and gases cleanly and keep them out of the surrounding masonry and living space.
Warning signs your flue may be failing
These are the symptoms that most often lead to a relining conversation. Several at once make the case stronger.
-
Tile shards in the firebox
Finding pieces of orange or buff clay in the firebox or at the cleanout door usually means flue tiles above are spalling or cracking apart.
-
White staining or odor
Persistent smoky smells that linger between fires, or white efflorescence on the exterior brick, can point to a flue that is no longer sealing moisture and gas inside.
-
Poor draft and smoke spillage
A flue that is too large, too rough, or partly blocked by fallen tile debris can draft weakly, pushing smoke back into the room.
-
Switching heating appliances
A new gas insert, pellet stove, or wood stove almost always needs a specific liner diameter. An oversized masonry flue will not vent a smaller modern appliance correctly.
-
An unlined older chimney
If an inspection finds brick-and-mortar only with no tile liner, the chimney needs a liner before it is used.
How relining is done
A relining job is methodical. The exact steps depend on what we find when the flue is inspected.
-
Inspect and size
We run a camera down the flue to document the cracks, blockages, or missing tiles, and we measure for the correct liner diameter based on your appliance and flue height.
-
Clear the way
Loose tile fragments, heavy creosote, and old debris are removed so the new liner can be lowered cleanly from the top of the chimney to the firebox or appliance collar.
-
Install the liner
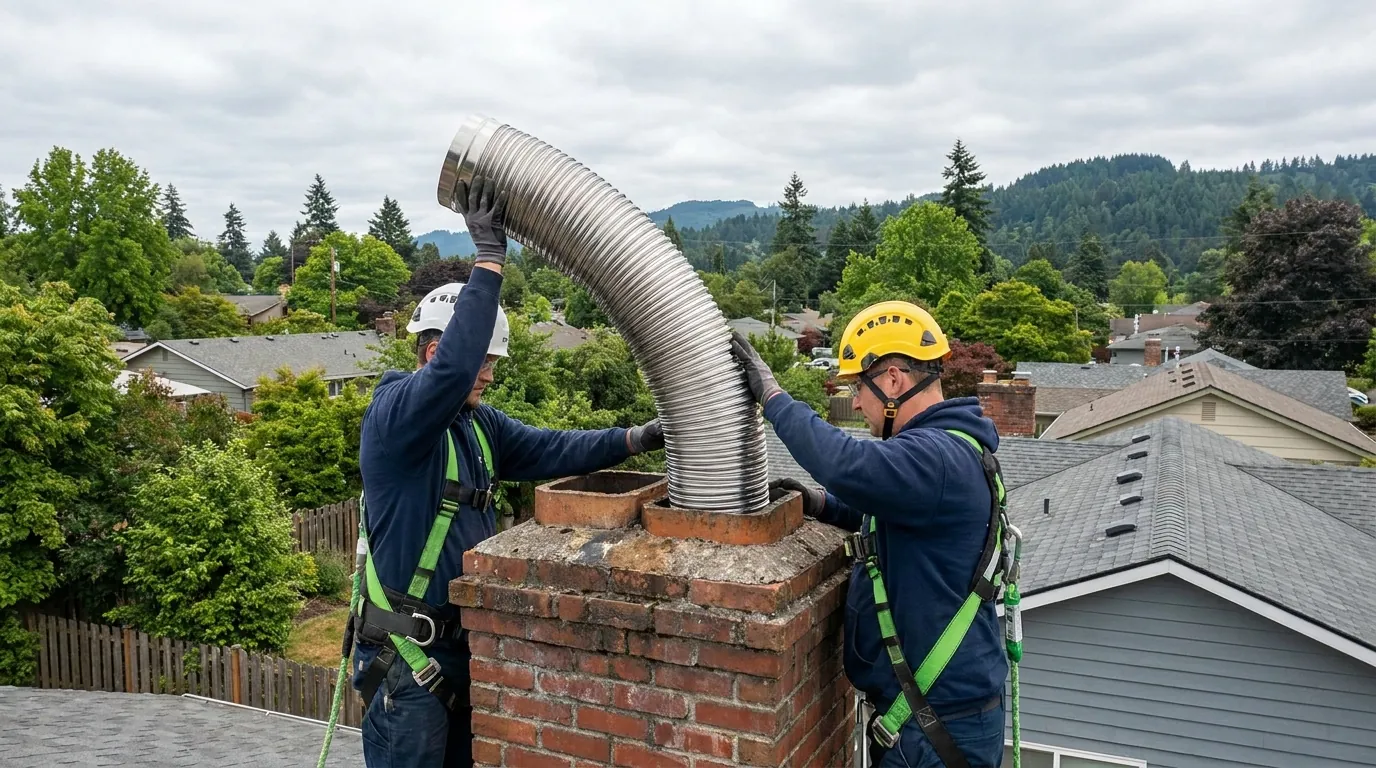
The stainless liner is fed down the flue and connected at the bottom to the appliance or firebox. Rigid or flexible liner is chosen to match the flue's shape and any offsets inside the stack.
-
Insulate and finish
Where needed, the liner is wrapped with insulation to hold draft temperature and protect the surrounding masonry, then sealed at the top and fitted with a cap to keep rain out.
How Vancouver conditions shape the work
Our long wet winters are hard on flues. Moisture combines with creosote and combustion byproducts to form acids that attack both clay tile and bare masonry, and the damp lingers far longer here than it would in a dry climate. A liner that is properly insulated keeps the flue gases warm enough to vent cleanly instead of condensing on cold interior walls — condensation is a big part of what rots an old unlined chimney from the inside.
Freeze-thaw cycling matters at the top of the stack. Water that soaks into a cracked crown or open flue freezes on cold nights and widens every gap. Relining usually goes hand in hand with chimney crown and cap replacement so the new liner is protected by a sound crown and a cap that sheds rain. If the brick around the flue has also deteriorated, tuckpointing and brick repointing restores the surrounding masonry so moisture stops reaching the flue in the first place.
A relining job is also the point where other problems come to light. A camera inspection often turns up flashing leaks or firebox cracks that explain stains you have been seeing for years. We flag anything we find and explain what is urgent versus what can wait.
Deciding what to do next
Relining is not always the answer. If only one or two tiles have minor cracks and the chimney is otherwise sound, a more limited repair may be enough. If the masonry above the roof has failed structurally, a chimney rebuild above the roofline may need to happen first, with the liner installed as part of that work. The right call comes from a camera inspection, not a guess from the ground.
The best first step is an inspection that documents the flue's actual condition with photos or video. From there you get a written estimate describing the liner size, material, and scope, so you can weigh relining against your other options with real information in front of you.
Have your flue inspected before the burning season
If your chimney drafts poorly, smells smoky between fires, or you are adding a new stove or insert, start with a camera inspection. Reach out to schedule a look at your flue.
Serving Vancouver and nearby Clark County communities.
Frequently asked questions
Why stainless steel instead of a new clay liner?
A stainless liner installs in a single continuous run from top to bottom without rebuilding the flue tile by tile, which is far less invasive in an existing masonry chimney. It also resists the acidic condensation that our wet climate produces and can be sized precisely to a modern appliance.
Does every chimney need a liner?
A chimney needs a sound liner to vent safely, but not every chimney needs a new one. If the existing clay tile is intact and correctly sized for the appliance, relining may not be necessary. A camera inspection settles the question by showing the flue's actual condition.
Will relining fix a chimney that leaks when it rains?
Not by itself. Rain usually enters through the crown, cap, flashing, or failed brick joints rather than the flue. Relining addresses the venting passage; stopping water often means pairing it with crown, cap, or flashing work identified during the inspection.
How long does a relining take?
A straightforward relining is commonly a one-day job once the liner is sized and on hand. Jobs that involve clearing heavy debris, repairing the crown, or addressing the surrounding masonry take longer, which is why an inspection comes first.